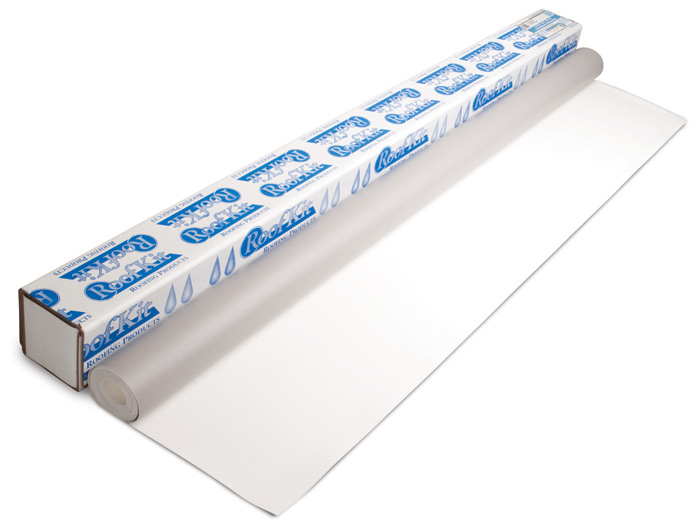
RoofKit White Reinforced Installation
Installation of RoofKit White Reinforced Membrane can be completed in just a few, easy-to-follow steps. We recommend downloading the Pocket Application Guide to guide you through your installations.
These instructions have been designed to provide you with general descriptions and reference aids for installing the RoofKit fully adhered roof system, but are not intended to be all-inclusive. Should you have questions or encounter a situation that is not covered in these instruction materials, please call 1-800-225-4714, extension 7889, for technical support.

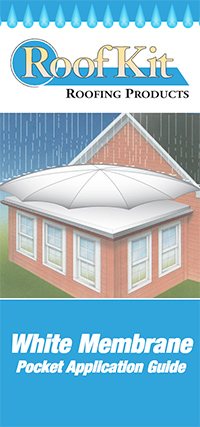
 Pocket Application Guide:
• Designed to give a general description of a
RoofKit fully adhered roof system
• Intended to be used as a reference aid only
for installation of White Reinforced Roofing System
• Use in conjunction with White Reinforced
RoofKit Instructional Videos
Related Links
![]()
» FREQUENTLY ASKED QUESTIONS
![]()
» MATERIAL SAFETY DATA SHEETS
![]()
» SPECIFICATION DETAILS
![]()
» CONTACT US
Installation Videos:
Introduction
Step 1: Preparing the Roof Surface
Step 2: Layout & Measurement of Material
Step 3: Adhering the White Membrane
Step 4: Preparing the Seam Area
Step 5: Completing the Seam
Step 6: Completing Edge Details
Skylights and Chimneys
Inside and Outside Corners
Applying a Patch
Installing a Pipe Boot
Vertical and Angled Walls
Important Notice About Water Vapor or Condensation:
Control of water vapor and subsequent condensation is the responsibility of the person designing the roofing assembly. Exposure of the roof to temperatures below the dew point temperature of the air inside the building will cause condensation to form within the roofing assembly. Condensation forming within the roofing assembly and dripping into the building is not a roof leak. The person designing the roofing assembly and the person installing the roofing assembly must use proper water vapor control measures when designing and installing the roofing assembly to prevent condensation from forming within the roofing assembly.
